A WINDOW MURAL COMMISSIONED BY LOCAL HONEY SALON

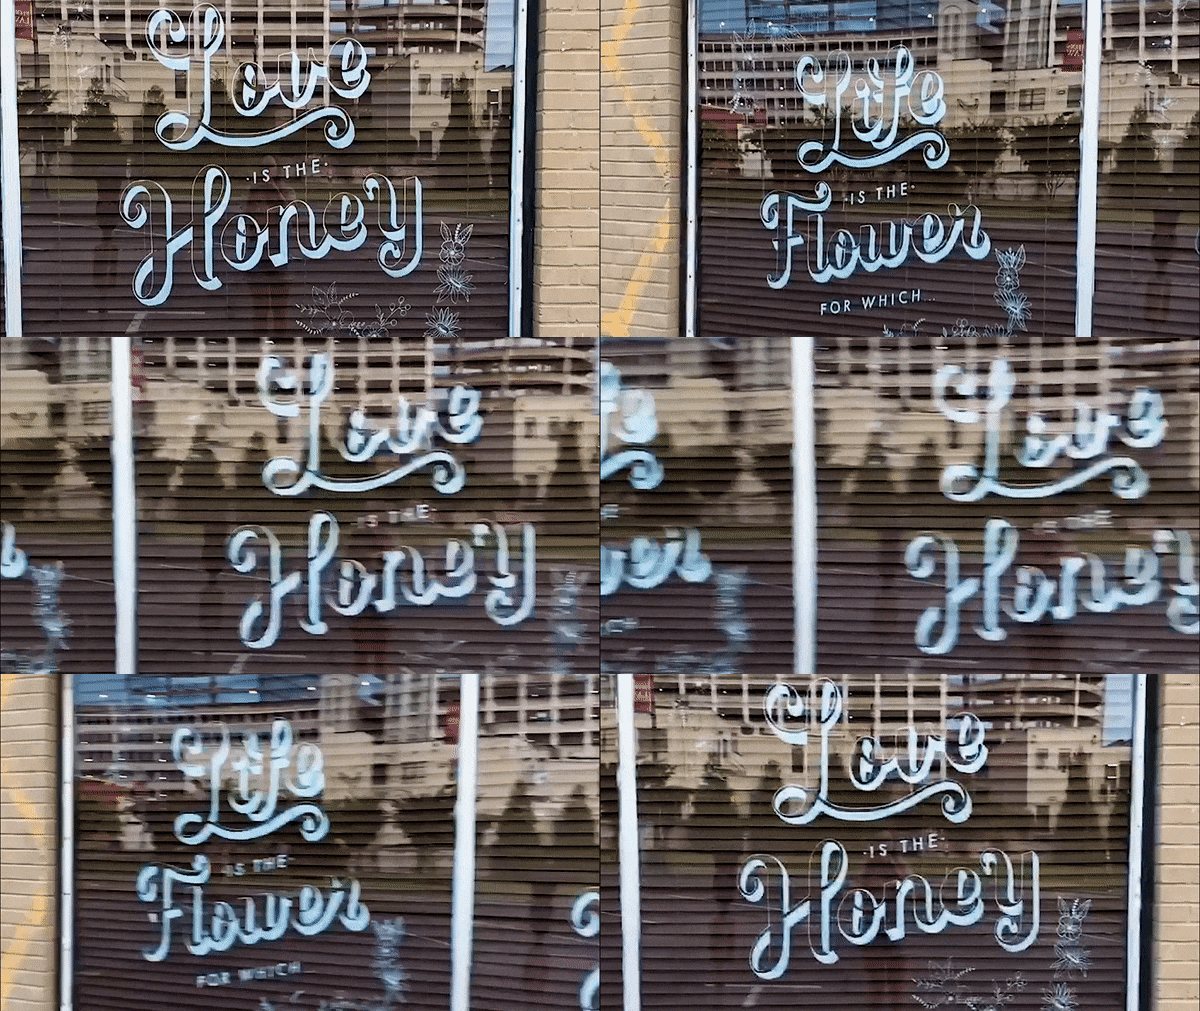
Recently I had the pleasure of collaborating with Local Honey Salon in creating a custom hand lettered window mural. At a total of six feet tall and twelve feet wide, this baby was not my typical project. On top of that, working directly on glass at this scale was an entirely new medium so it required a bit of experimentation on my part. But alas, 8 hours and many many episodes of And That’s Why We Drink later, she is complete.
HOORAY!... OH, SHIT

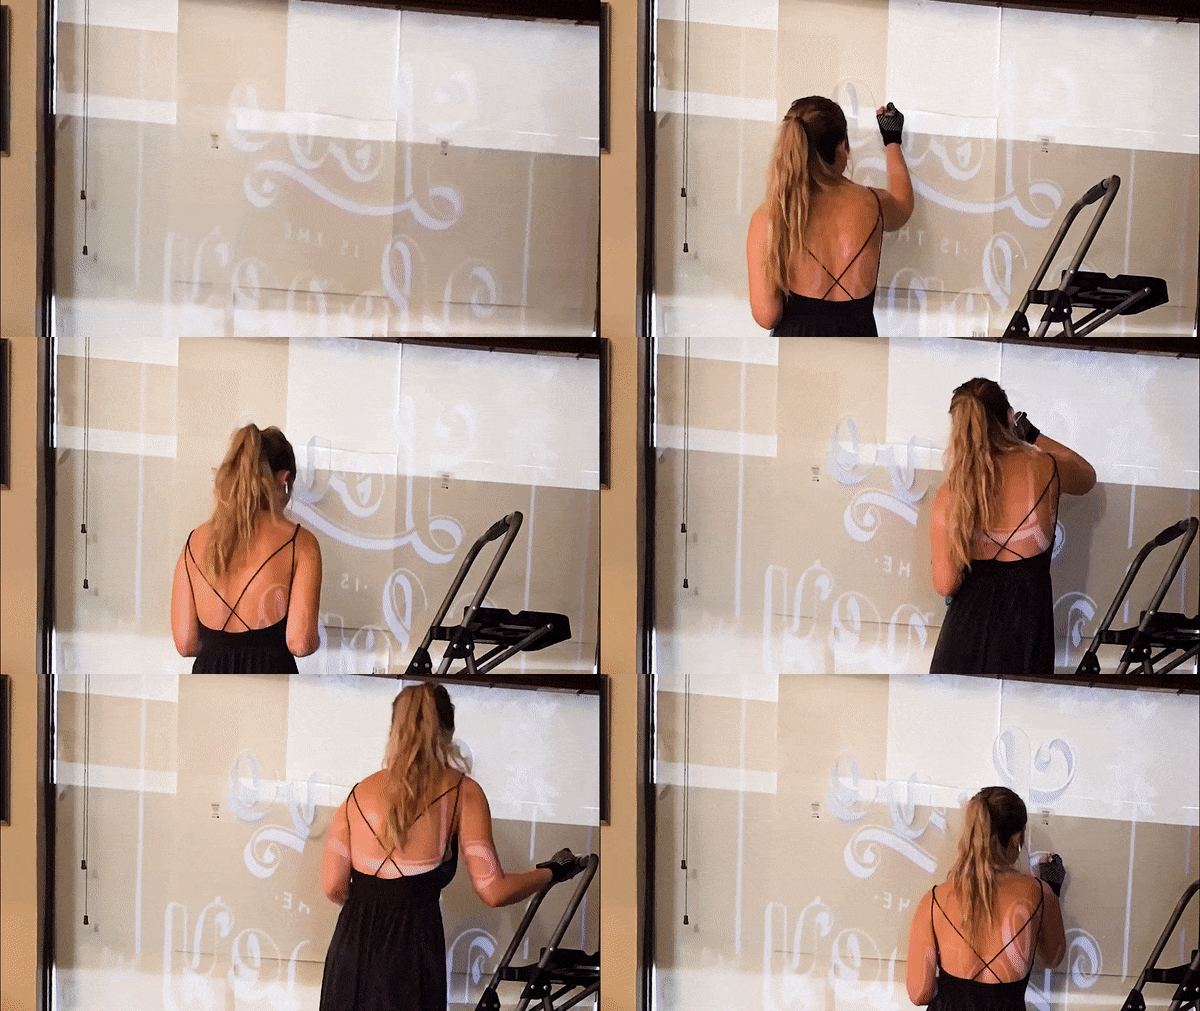
After I booked the job and had my celebratory moment of feeling like the most badass bitch in town, the Oh Shit moment kicked in and I wondered how I was actually going to execute this thing. My typical process for murals is to sketch the design out digitally in Procreate, project the design onto a wall, trace it in pencil, and then finally paint. However, because the final product was painted on a window instead of a wall, this obviously changed a few things. As it turns out, you can’t project light onto a window in broad daylight. I tried. Maybe not my ~brightest~ moment. (Pause for laughs) Also, since I was painting the inside of the window the design had to be flipped backwards so that it reads the right way from the outside.
So let the problem solving begin. To fix the projection problem, I hung twenty thick white poster boards on the outside of the window to prevent light from coming in. The building was still too bright, so I ended up doubling up on the paper to block the light so that I could get a clearer projection. From there, I flipped the design backwards, split it into two panels, and projected each panel separately. From there I traced my backwards design (a true mindfuck), and then went back in and filled in the gaps.
THE TOOLS THAT BROUGHT IT TO LIFE

My tools of choice with these types of projects include Bistro Chalk Markers because they are so easy to remove. The only downside of this is that it’s not the most opaque finish in the world, so I ended up going over my work with Crayola washable white paint to hide some of the obvious marker strokes. I found it super handy to have some extra towels and cloths around to smooth out any curves, and a ruler to help with straight lines. Also, as someone who constantly has clammy hands (thanks, anxiety) I wore a yoga glove with grips to keep me from smearing the chalk marker with my palms.

Overall, I love the way everything came out and I’m so grateful to be able to collaborate with a local business that shares my vision and aesthetic. I learned a ton on the job that will hopefully help me shave a little bit of time off of future jobs. Projects like this always make me feel as if I climbed Mt. Everest. Like, I did the damn thing! It’s truly bonkers. I can’t wait for the next one. I’d love to hear any questions or feedback on the project. Feel free to comment below!
Cheers,
Marley
